
This topic is applicable to Sonos owners only.
This is the third step of the assisted install option for your Raspberry Pi. The first step can be found here.
This step will create a basic configuration for AlbumPlays’ Observer & Detect module on your Raspberry Pi. We will then start Spy running, causing it find your Sonos zones, and to start detecting your tracks plays.
[If you have a NAS] – Create a share accessible from both RPi & Windows
If you have a NAS, you will probably want to use the the transfer database, and store it on your NAS. This will be your best option, as it makes day-to-day operation simplier, as you avoid having to export the Spy observations so that your PC may see them. You are also better protected, as you can have duplicate copies of your unprocessed Spy observations (ie. stored on your NAS, as well as your RPi).
There is some additional configuration required if you want your RPi to be able to access a Share on your NAS. … you need to complete this configuration step before proceeding to the next step
-
Record the IP address of your NAS
If you don’t already know the IP address, log into your NAS … the IP address will be prominently displayed
Otherwise open Windows command Prompt, and type the following, where xxx is your NAS nameping xxxx -
Create a new network share on your NAS
- create a folder to be shared between your Windows PC and your Raspberry Pi (Linux)
- set the folder permissions so that everybody has read|write access to the folder, and all files which will be created in it.
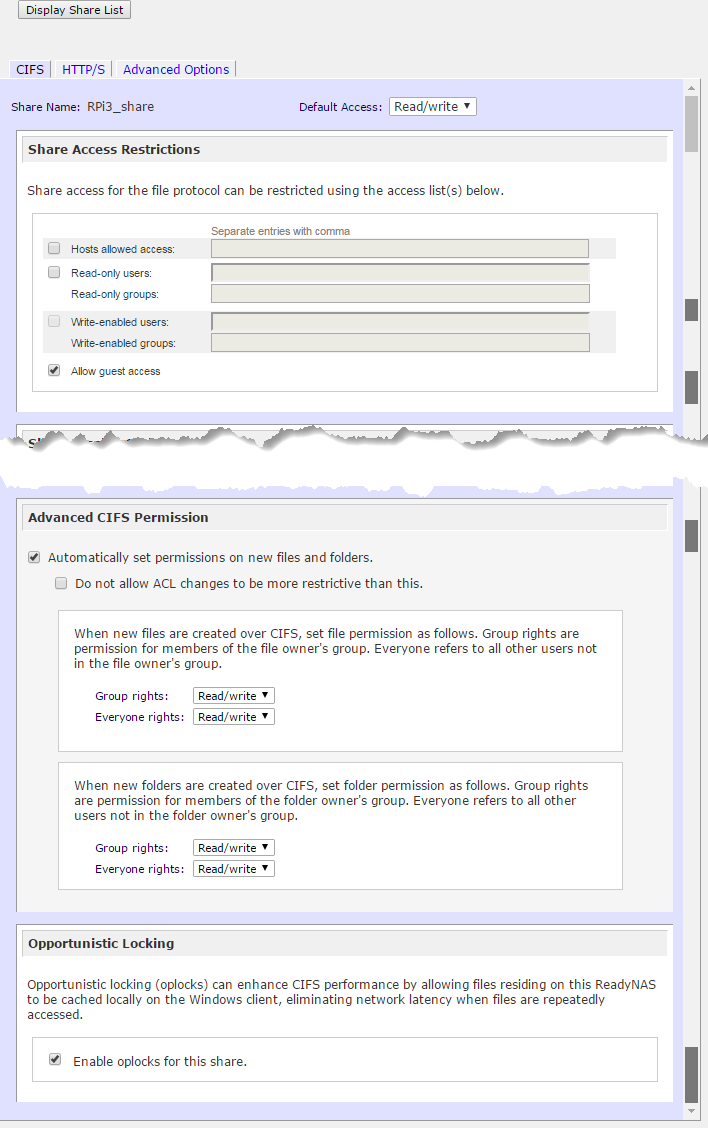
- the UI to achieve this will vary depending upon which NAS you have … google your NAS type and either CIFS permissions or NFS permissions
- click here to see how this is configurated on my NAS
- take a note of which network sharing protocol your NAS is using. It is:
- cifs if it mentions smb, or samba or cifs or Common Internet File System
- nfs if it mentions Network File System or NFS
-
Make this Share accessible on your RPI
- a folder has already been created, on your RPi, to represent this NAS share; the folder name is /home/pi/NAS
- you now need to configure the RPi so that it populates the above folder with your NAS Share
- open the AlbumPlays folder on your RPi desktop, and then open the NAS folder within that
- open the Configure NAS shortcut

-
this opens a RPi configuration file; you need to modify the last line, which is:
#//x.x.x.x/yyyy /home/pi/zzz wwww guest,nobrl,auto,x-systemd.automount 0 0 - you need to replace:
- x.x.x.x with the IP address of your NAS
- and yyyy with the name of the share that you created on your NAS … you may specify the root name of your NAS Share, or the name of a folder within that Share … eg MyShare or MyShare/MyFolderInside
- and wwww with either cifs or nfs
- save, and close the editor
-
Register your change
- run the Reset NAS mount shortcut (see above illustration)
- a small black window will open and quickly close
-
Test
- create a text file in the NAS share using Windows
- open that folder from the RPi’s home directory
- open the file (double click), update the contents, save & close
- create a new text file in the RPi folder
- open both files in Windows, verify that the contents of the initial file have been updated

collapse
Initial configuration of AlbumPlays on the RPi
-
Open the AlbumPlays folder on your RPi desktop, and take option Start Spy (manually)

-
As AlbumPlays is not yet configured, it will go into its configuration wizard.

- Read the wizard recommendations, and follow instructions. The following questions are asked:
- provide the list of those people who listen to the Sonos, and whose plays you wish to track ( see https://albumplays.com/multi-user-facilities/ for an overview of AlbumPlays’ multi-user facilities).
- specify the location of your spy transfer conduit back to the main copy AlbumPlays, which runs on your PC
- If you have setup a NAS share in the above step, you need to select that … use the green arrow, of the right of the the popup window, to navigate up two levels, where you will see the NAS directory, (at /home/pi/NAS) … open that, it will be the root of your Share … if you specified a sub-directory, then chose that, otherwise select the NAS folder itself
- If did not specify a NAS share, you can just accept the default location (which is /home/pi/.local/sonos_spy)
- if you setup a NAS share, agree to create the transfer database; best to leave it at the default location … give it a meaningful name (eg, AlbumPlays_spy.db)
- it is best to agree to use the text file transfer option .. if you don’t have a NAS, this will be the collection point for all Spy observations, otherwise it will be a backup, additional to the transfer database created in the previous step)
- Review and approve your specifications

- the window will close when your press OK, process my requests
- the window will close when your press OK, process my requests
- Process your specificatiuons
- start Spy manually again, just as you did in step #1 above
- a black window will open, displaying the Spy log file. Spy’s O&D module will create the database (if requested), and will start detecting your Sonos zones, as you can see in the log snippet below. It is also detecting your tracks plays.


Next step: Wrap up install tasks … convenience and security
Prior step: Install AlbumPlays onto the Raspberry Pi
Site map: Index to my Raspberry Pi installation & support pages