This topic is applicable to Sonos owners only.
This, and the following pages, cover the manual install option for your Raspberry Pi. The assisted install option is a lot quicker and easier.
You require the items listed here
You should have already installed the PC components as described here.
Preparation
- insert a preloaded NOOBS SD card into the Raspberry Pi; see this YouTube demo for location of the correct slot
- [optional] attach the Raspberry Pi to your home network via a Ethernet cable if this is convenient, otherwise we shall use WiFi
- [optional if Ethernet cable attached] plug the temporary monitor cable, and the keyboard & mouse into any of the Raspberry Pi’s USB ports … this option will slightly simplify the configuration stage
- attach the power supply, and turn the power on
[Optional] Connect the RPi to your home network via WiFi
This first step is optional, because if you have a spare port on your network gateway you may chose to use a wired Ethernet connection rather than Wifi.
nb: The model of Raspberry Pi recommended here is the only model with builtin Wifi support, although it is available as a plugin WiFi dongle for other models.
You need to have plugged the temporary monitor cable, and the keyboard & mouse into any of the Raspberry Pi’s USB ports, prior to powering up.
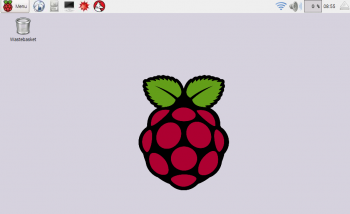
After a small delay you will see the following on your TV or monitor.
- Establish WiFi connection to your home network:.
- click on the RPi’s WiFi symbol (#1 on the following diagram), select your WiFi network from the list, and supply your network’s access code … more details here

- Test your connection by starting the RPi’s browser (clicking on #2 in the above diagram), and then try accessing the Internet
Next step: Control your Raspberry Pi from your Windows PC
Site map: Index to my Raspberry Pi installation & support pages

